Event Branding & Customization
The event landing page is the entrance to your event. It contains the event title and date, a registration form and login field (for people already registered), and descriptive text, speaker headshots, and other images or videos that you choose to add.
When attendees register and sign in to the event, they are taken to the event window. Depending on your webcast, the event window contains a video player where presenters appear on camera and uploaded videos are played; tabs for slides, surveys, and other content; and sidebar tabs for Q&A and audience chat.
There are so many options for customizing the appearance of your event and adding your brand that it can be difficult to know where to begin. One way is to start at the top of the page and work your way down. Set the visuals first and then build out the web content for your attendees:
Note: This article explains event branding and customization and provides links to detailed instructions. For additional information and tips, see Branding Best Practices.
Banner and logos
To learn more, see Set up the banner and logos.
Registration layouts
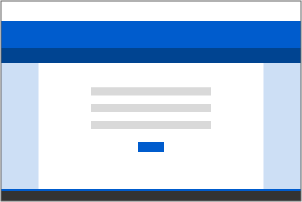
The layout of the landing page determines the placement of the registration form and landing page content. There are two styles:
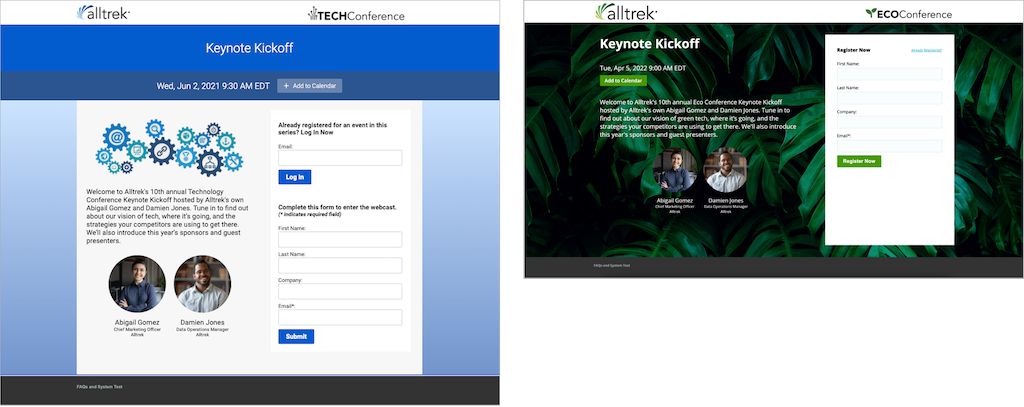
- Bar layouts feature the event title and date prominently in colored bars across the landing page.
- Open layouts incorporate the event title and date in the body of the landing page.
To select a layout:
Go to the Player & Branding tab. Open Advanced Branding and select a Registration Layout.
The following example shows the same event styled with a bar layout (left) and open layout (right).
The following table explains the available layouts.
| Layout | Description | Preview |
|---|---|---|
| Bar layouts | ||
| One Column | A single column with landing page content first, followed by the registration form. |
|
| Two Column | Landing page content on the left and the registration form on the right. | 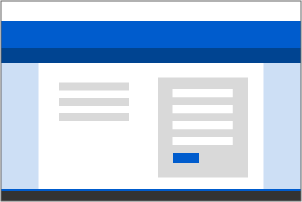 |
| Popup Registration | Landing page content with a Register Now button that opens the form in a small window. | 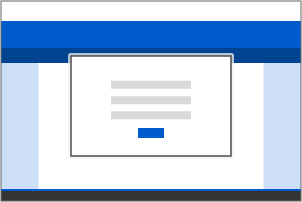 |
| Open layouts | ||
| Title Top - Left Registration | Event title and date centered above a container with the registration form on the left and landing page content on the right. |  |
| Title Top - Right Registration | Event title and date centered above a container with the landing page content on the left and registration form on the right. |  |
| Side-by-Side - Left Registration | Event title and date above landing page content with the registration form on the left. |  |
| Side-by-Side - Right Registration | Event title and date above landing page content with the registration form on the right. |  |
Colors and backgrounds
Use colors and background images to brand the look of the event landing page and event window. To set colors, go to the Player & Branding tab and open Advanced Branding. The Site Branding Options section lists page elements you can color.
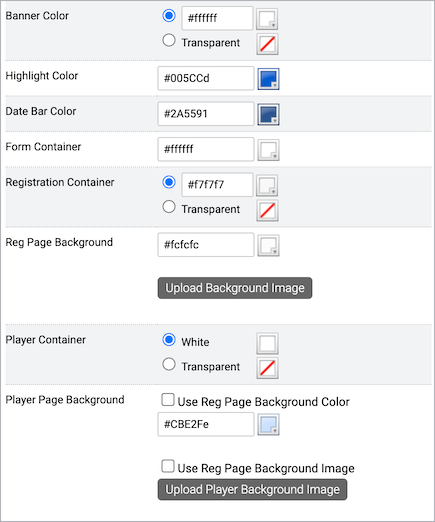
The following table summarizes the options.
| Option | Description | Applies to... |
|---|---|---|
| Banner color | The color displayed behind banner logos. Set the banner to transparent to show the:
|
Landing page, event window |
| Highlight color | The color of buttons on the landing page and tabs in the event window. For bar layouts, the highlight color is also the background of the event title bar. See: | Landing page, event window |
| Date bar color | Bar layouts only. The bar with the event date, below the event title bar. See: | Landing page |
| Form container color | In a two-column layout, you can set the background color of the registration form. Remember that the highlight color sets the color of buttons; select a color that contrasts well behind the registration form.
See Registration page background and form and content area colors |
Landing page |
| Registration container color | The content area that holds the registration form and landing page content. You can set to transparent to allow the background color or image to show through.
See Registration page background and form and content area colors |
Landing page |
| Registration page background | The area behind the registration container. You can select a background color, upload a background image, or both. (Set the banner to transparent to have the page background color show through.)
See Registration page background and form and content area colors |
Landing page, event window |
| Player container | The content area that holds the banner, video player, slides and other content tabs, and chat and Q&A tabs. Set the player container to white to group all the blocks or set to transparent to show the background color or background image. | Event window |
| Player page background | The area behind the player container. By default, the player uses the registration page background. You can set a color or upload a background image specifically for the event window. | Event window |
Landing page content
All registration layouts include a dedicated space for additional content. By default, this space - called the landing text - is empty. You can edit it and include additional event information, images, speaker headshots, links, and videos on your registration page. You can also add your own custom code or use auto-fields to include the event title, date, duration, or reminder buttons on the page.
To learn more, see Add text, images, and other media to the registration page.

